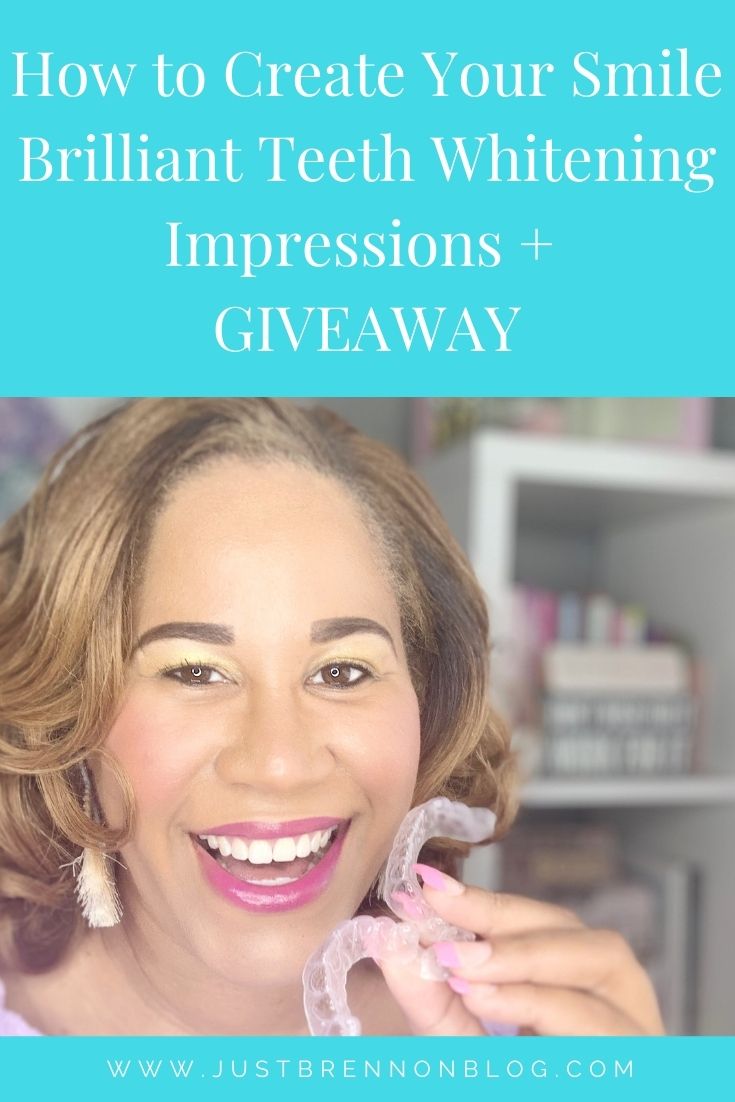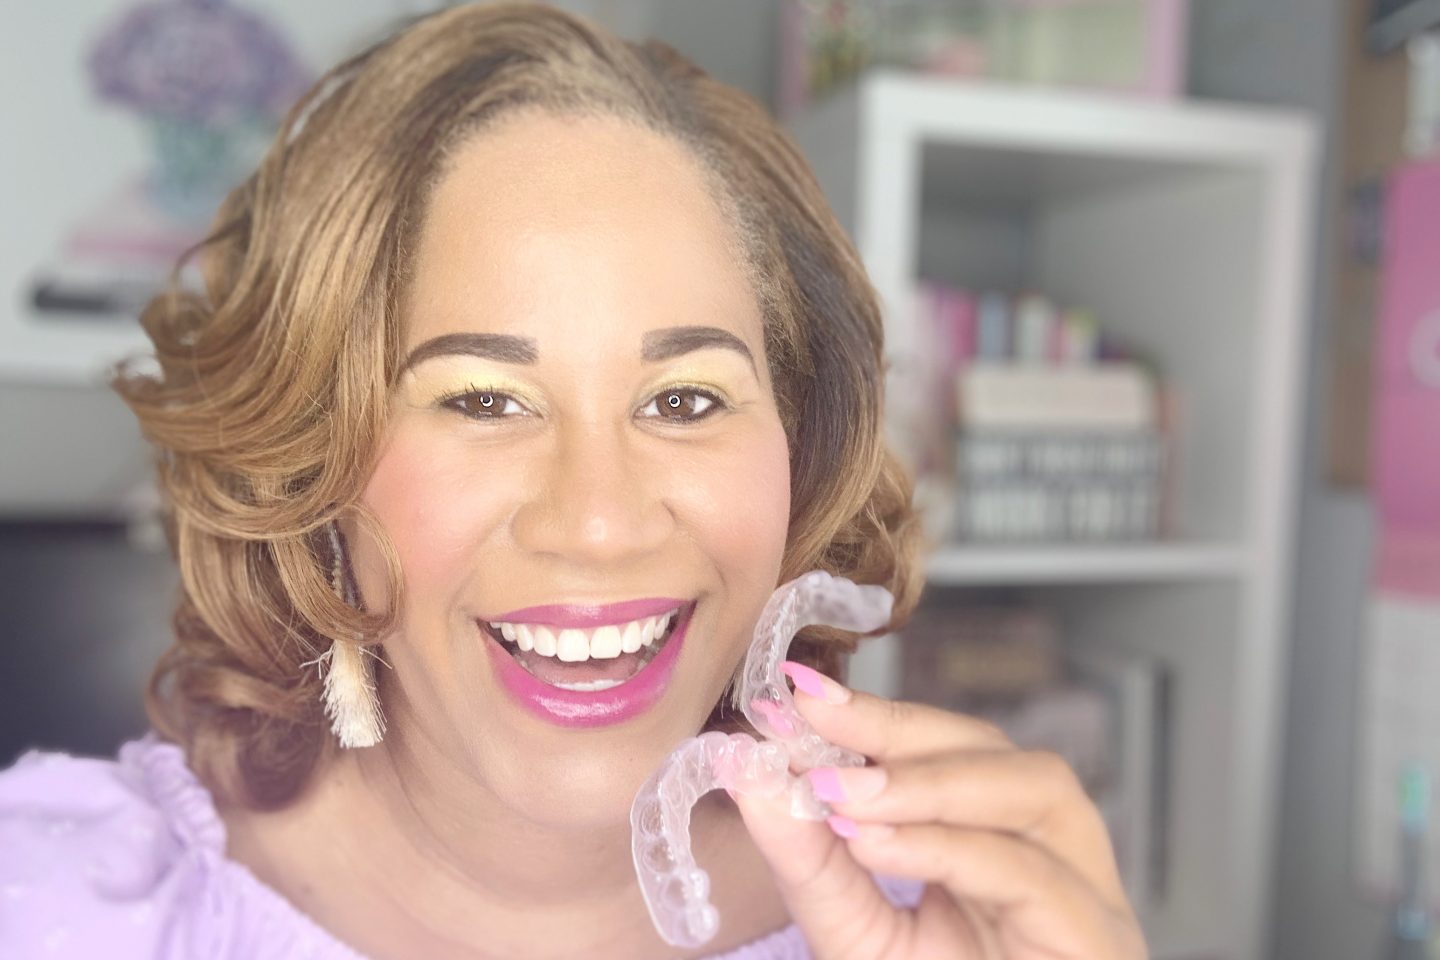
Note: My oral health care journey is in partnership with Smile Brilliant and contains affiliate links.
A few weeks back, I shared, Why I’m Returning to Smile Brilliant. If you haven’t had a chance to check it out, please go ahead and get caught up.
In today’s post, however, I am sharing How to Create Your Smile Brilliant Teeth Whitening Impressions. Back in 2018, I don’t feel like I shared enough photos for you to get the full effect. So, in this post, this is what I want to accomplish.
I want to show you exactly what I did to get my impressions completed on the first go around and not have to have them remade, and also tell you that you should be entering the giveaway at the link below!
GIVEAWAY!!!
https://www.smilebrilliant.com/g/justbrennonblog
What Is Smile Brilliant?
If you are unfamiliar with Smile Brilliant, here’s a few things to note. Smile Brilliant offers a variety of oral health products to assist you in achieving a whiter and more hygienic mouth and smile.
At the time that I was first introduced to the company, I only used their whitening kit. Teeth whitening will lift the shade of your teeth and will make them feel and look a lot healthier, whiter teeth will affect how you and your mouth both look and feel.
Psst. You can also save 20% using my code justbrennonblog20 using this link.
What to Expect in Your Kit?
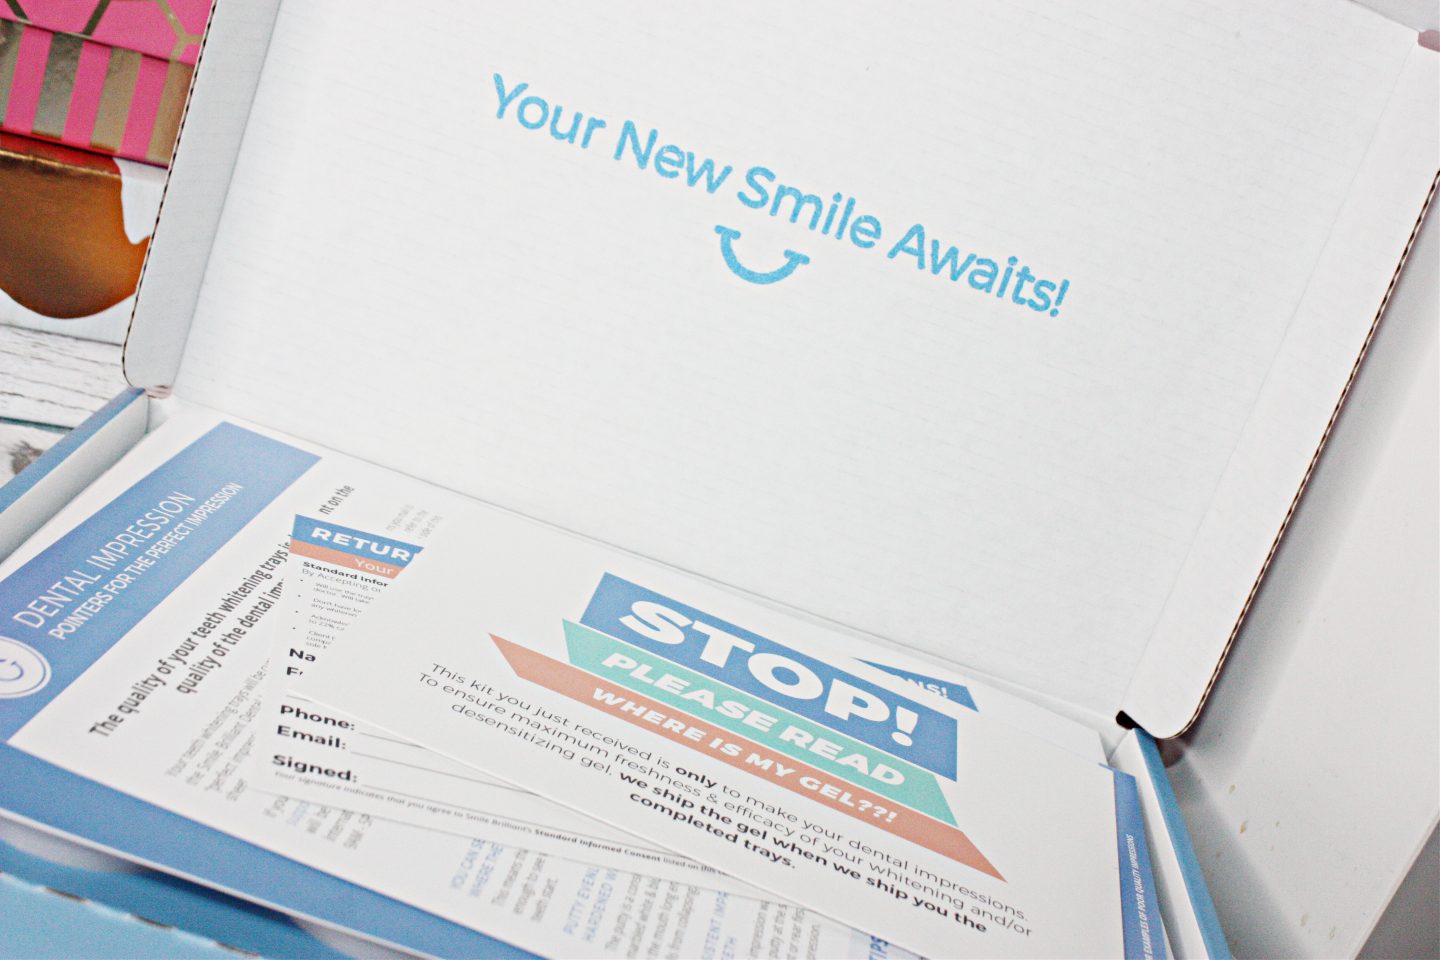
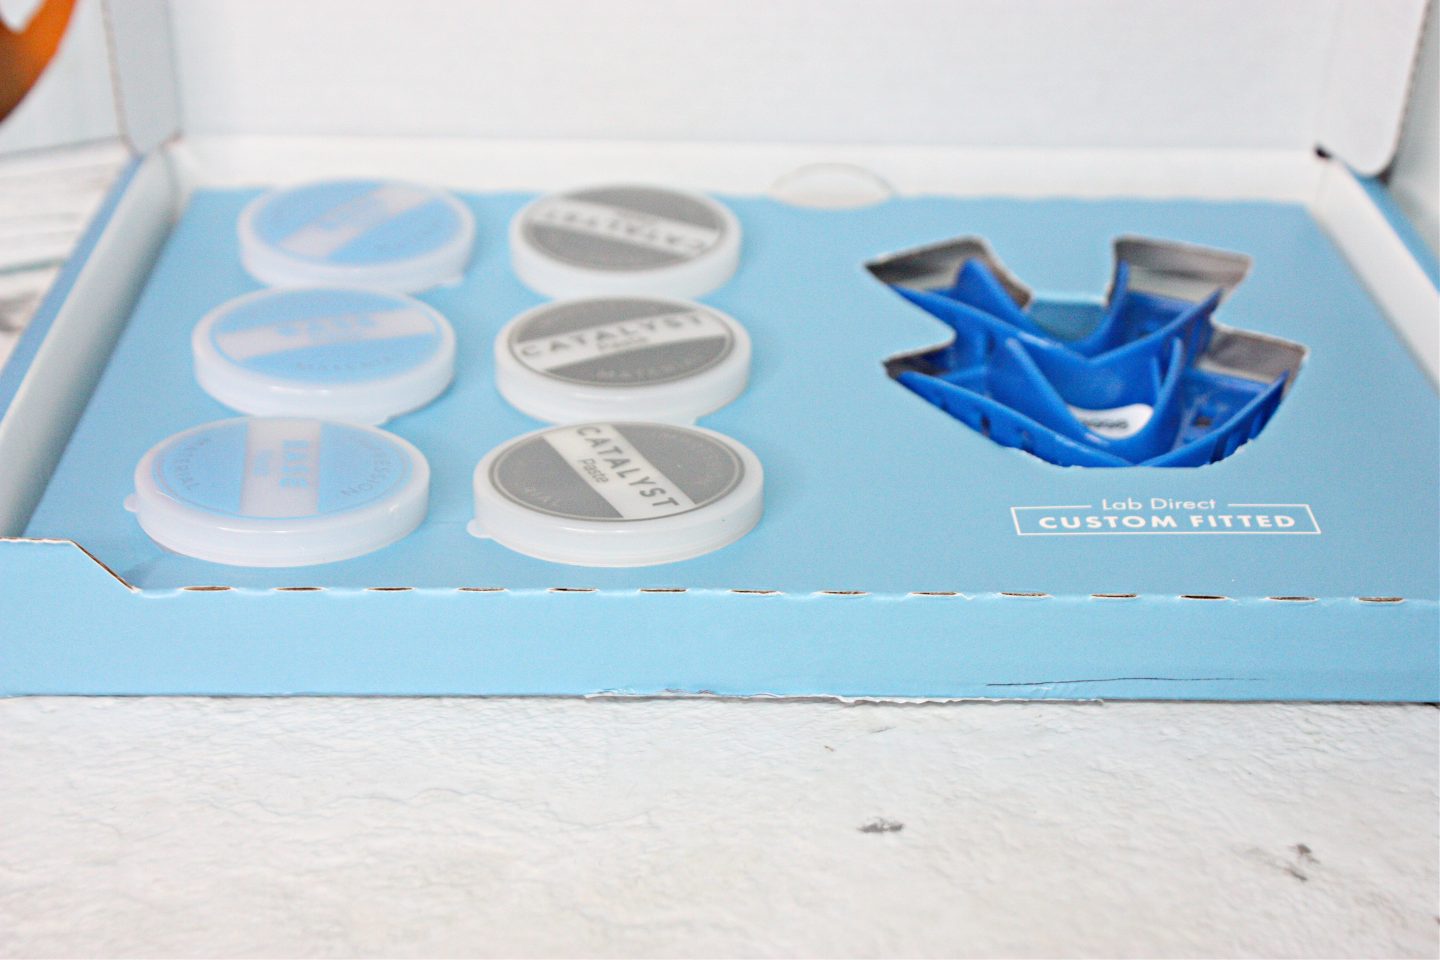
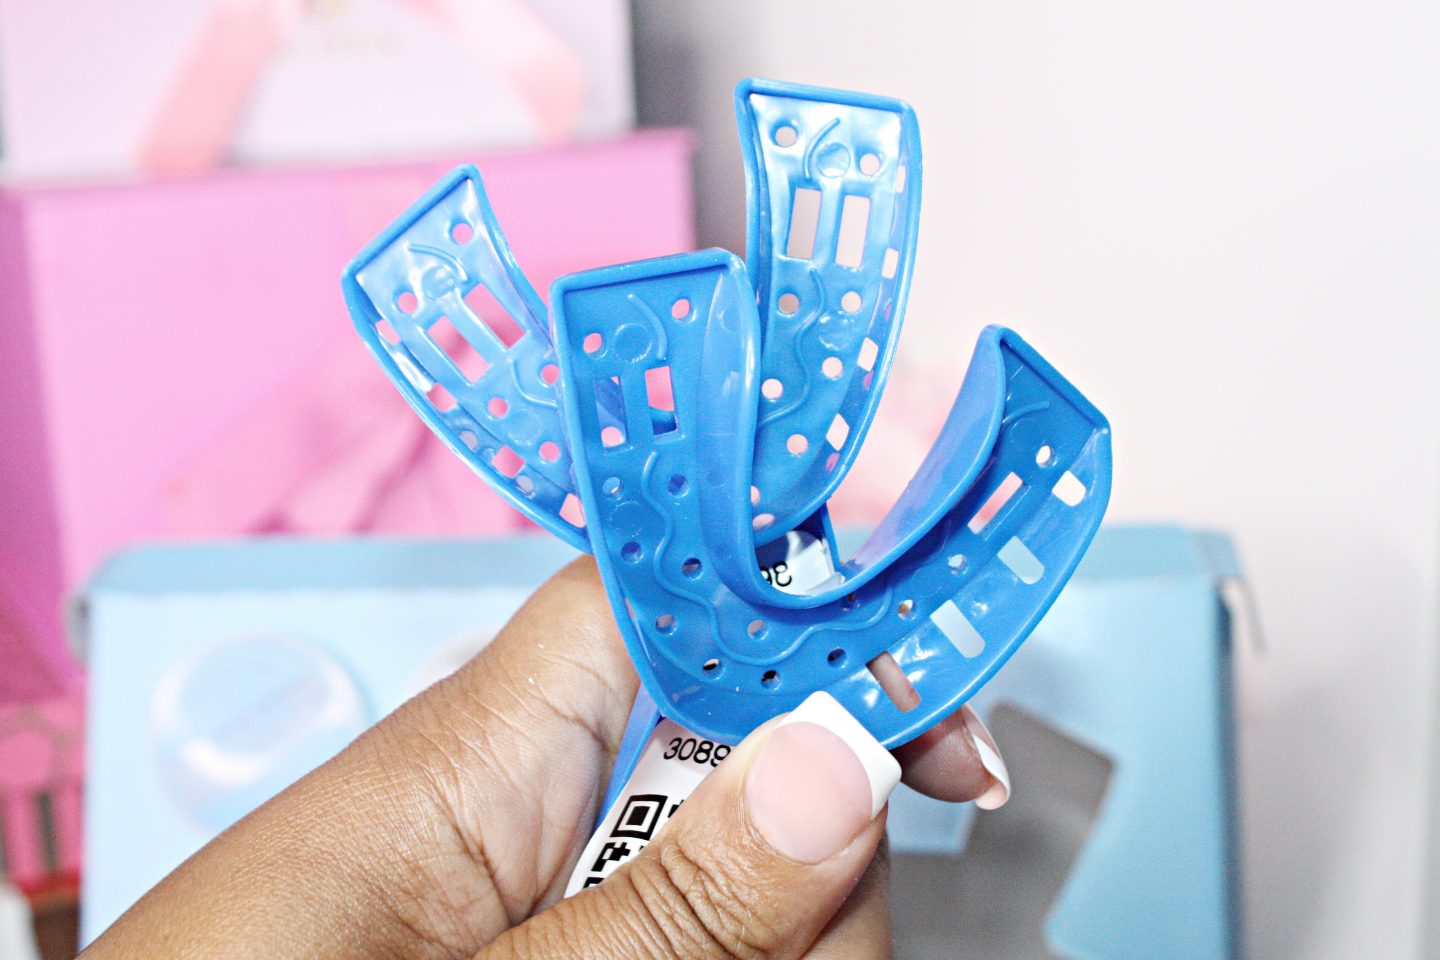
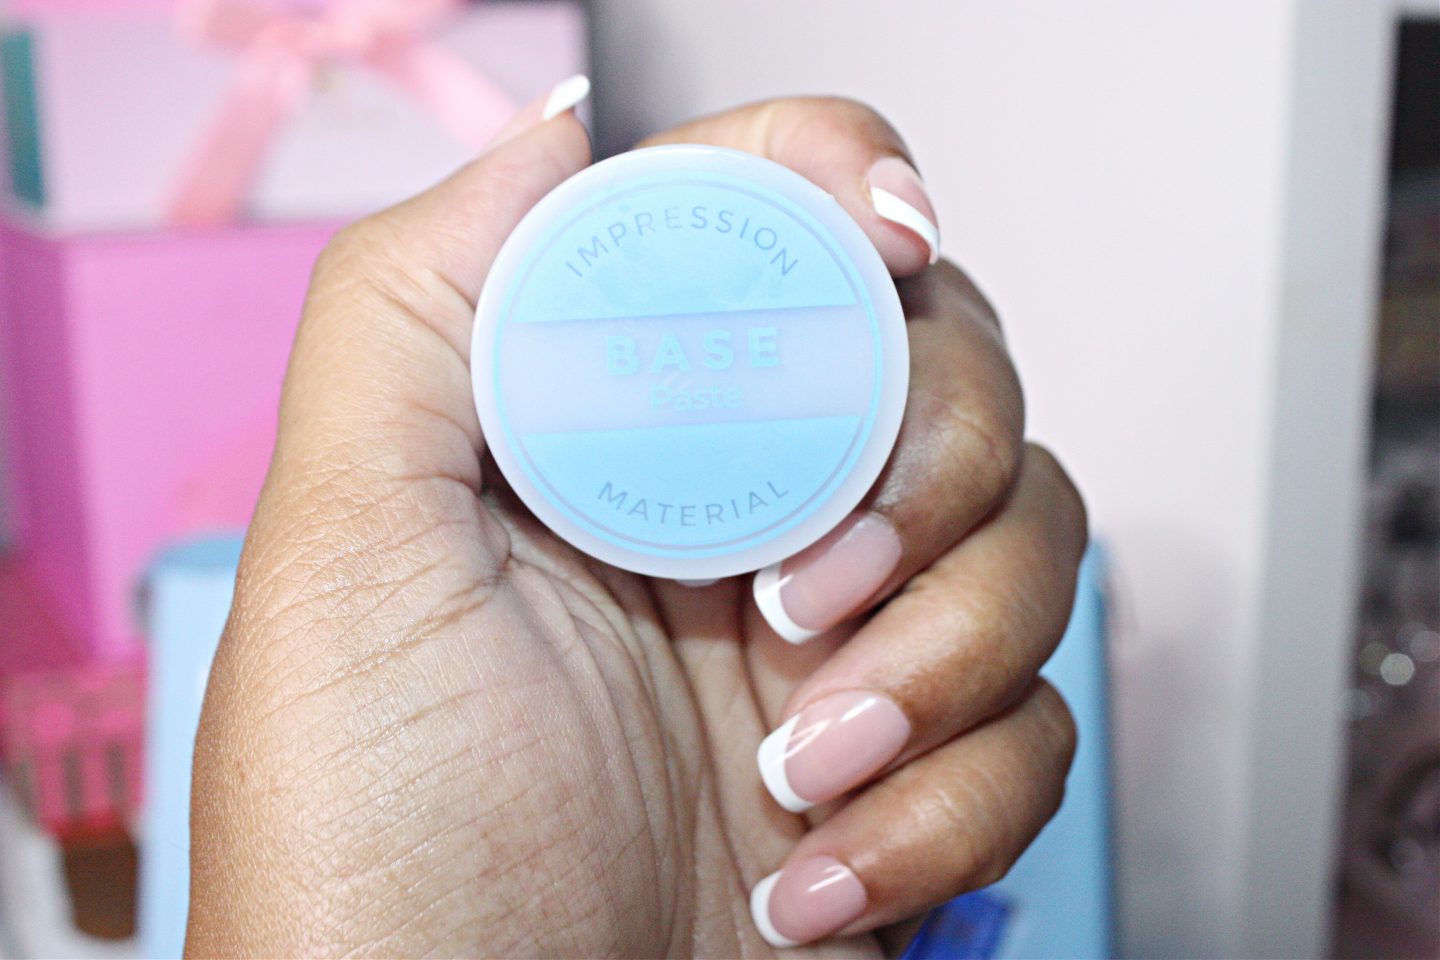
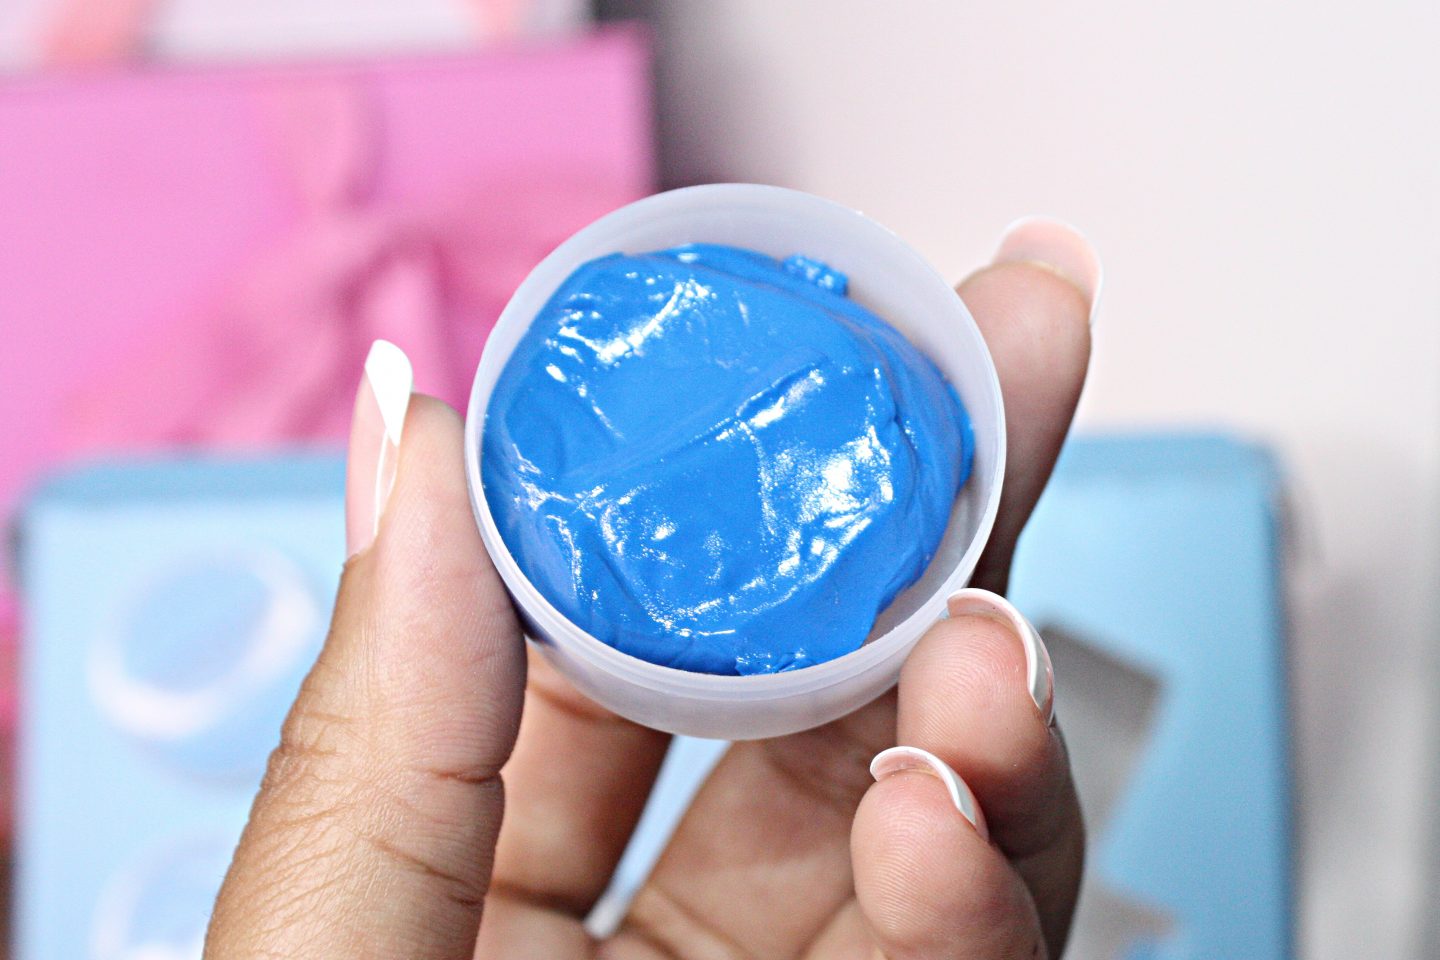
In your kit, you will receive two impression trays and three sets of impression material to make your own dental impressions. There is an extra set of materials, just in case you mess up.
How to Create Your Impressions
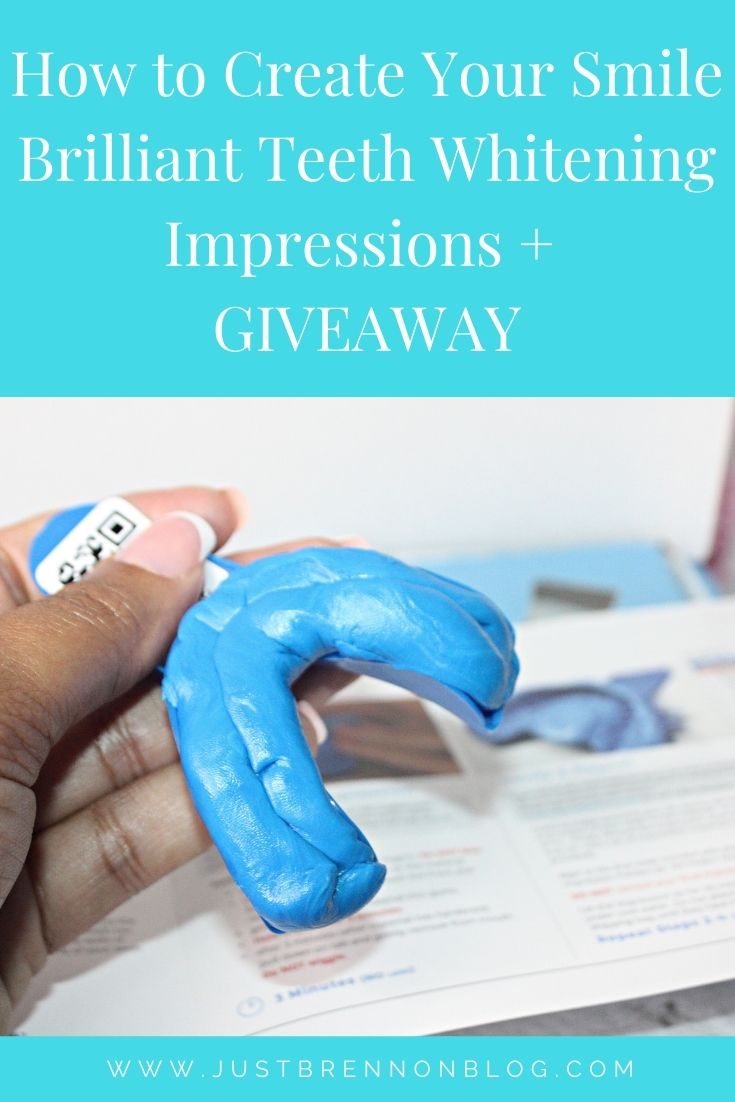
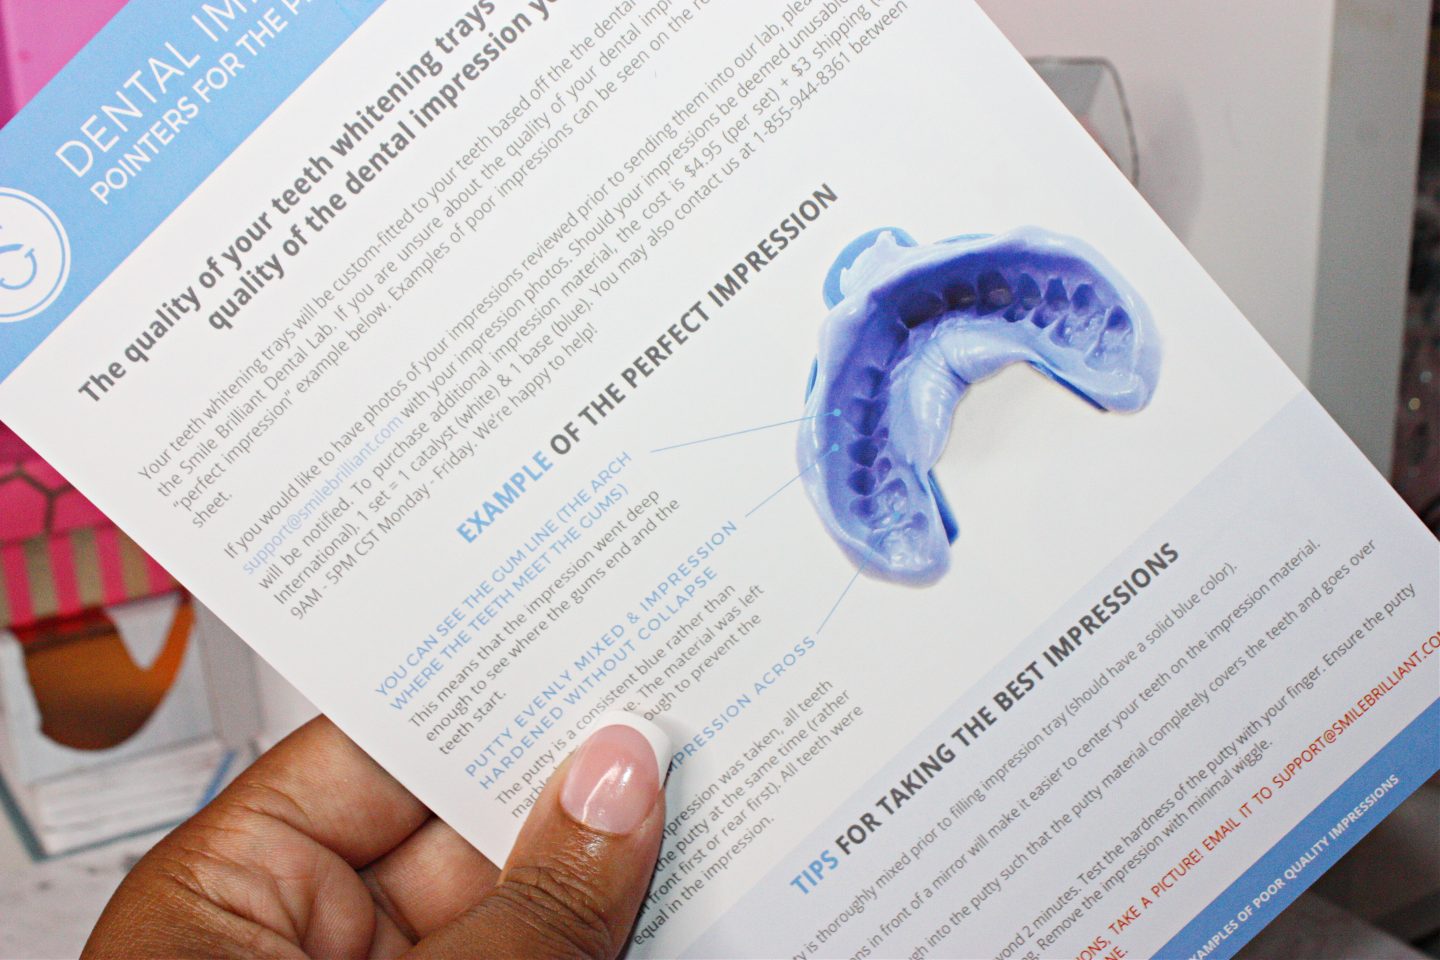
To create your impressions, please take your time and follow the instructions. The goal is to press the material into the teeth evenly to capture your gum line, then remove as smoothly as possible, without pulling the material.
Below are a few tips you may find helpful in creating your impressions.
- Use a mirror and good lighting so that you can see what you are doing.
- Be sure to pull out and down from your mouth and not drag the impression across your teeth.
- Mix the putty together into one solid color, into a hot dog shape in under one minute.
- Place the putty into the blue tray without pressing down too hard and then place it in your mouth.
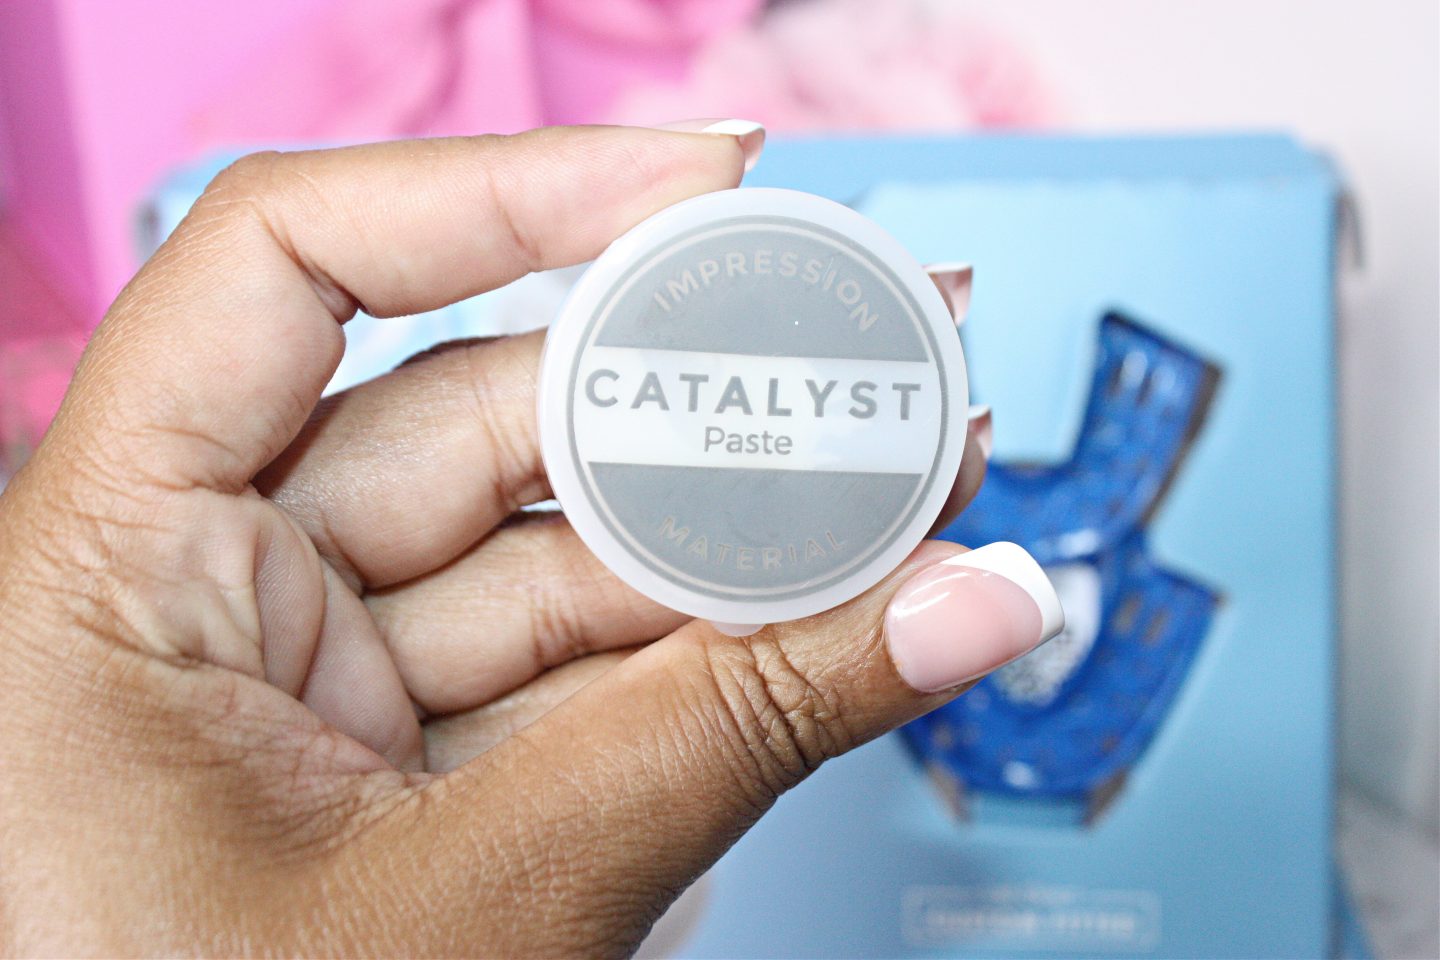
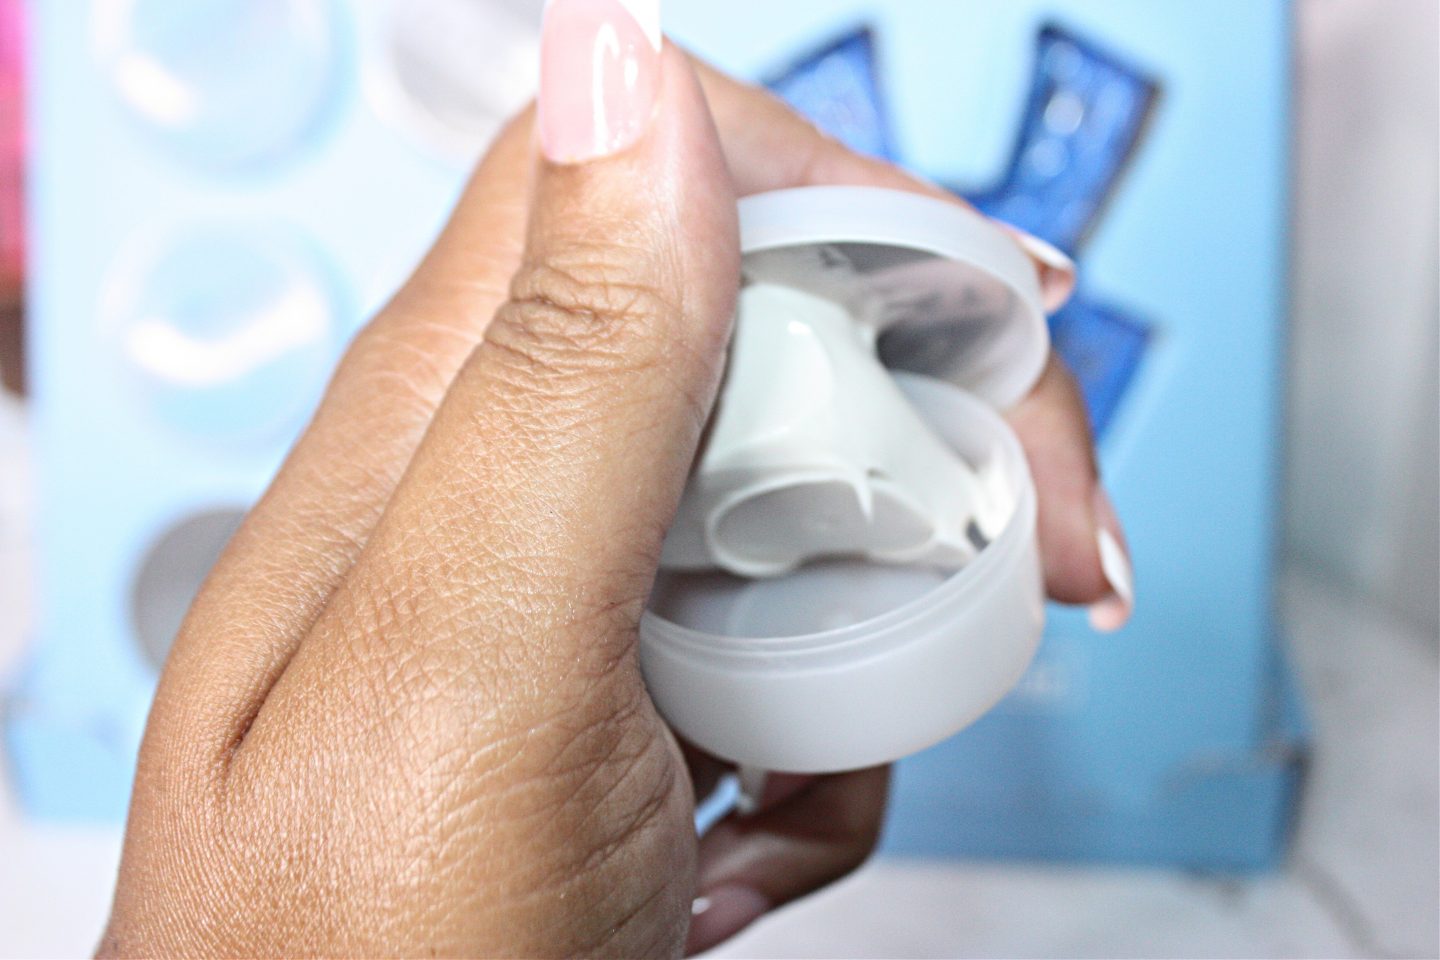
- Make sure your teeth are in the middle of the putty and press up with your thumbs very firmly from back to front and front to back.
- As some of the putty oozes out of the blue tray in the front of your teeth you can press on it against your gum line.
- Leave in your mouth for about three minutes and then remove.
- When removing the impression try not to wiggle them and remove them carefully.
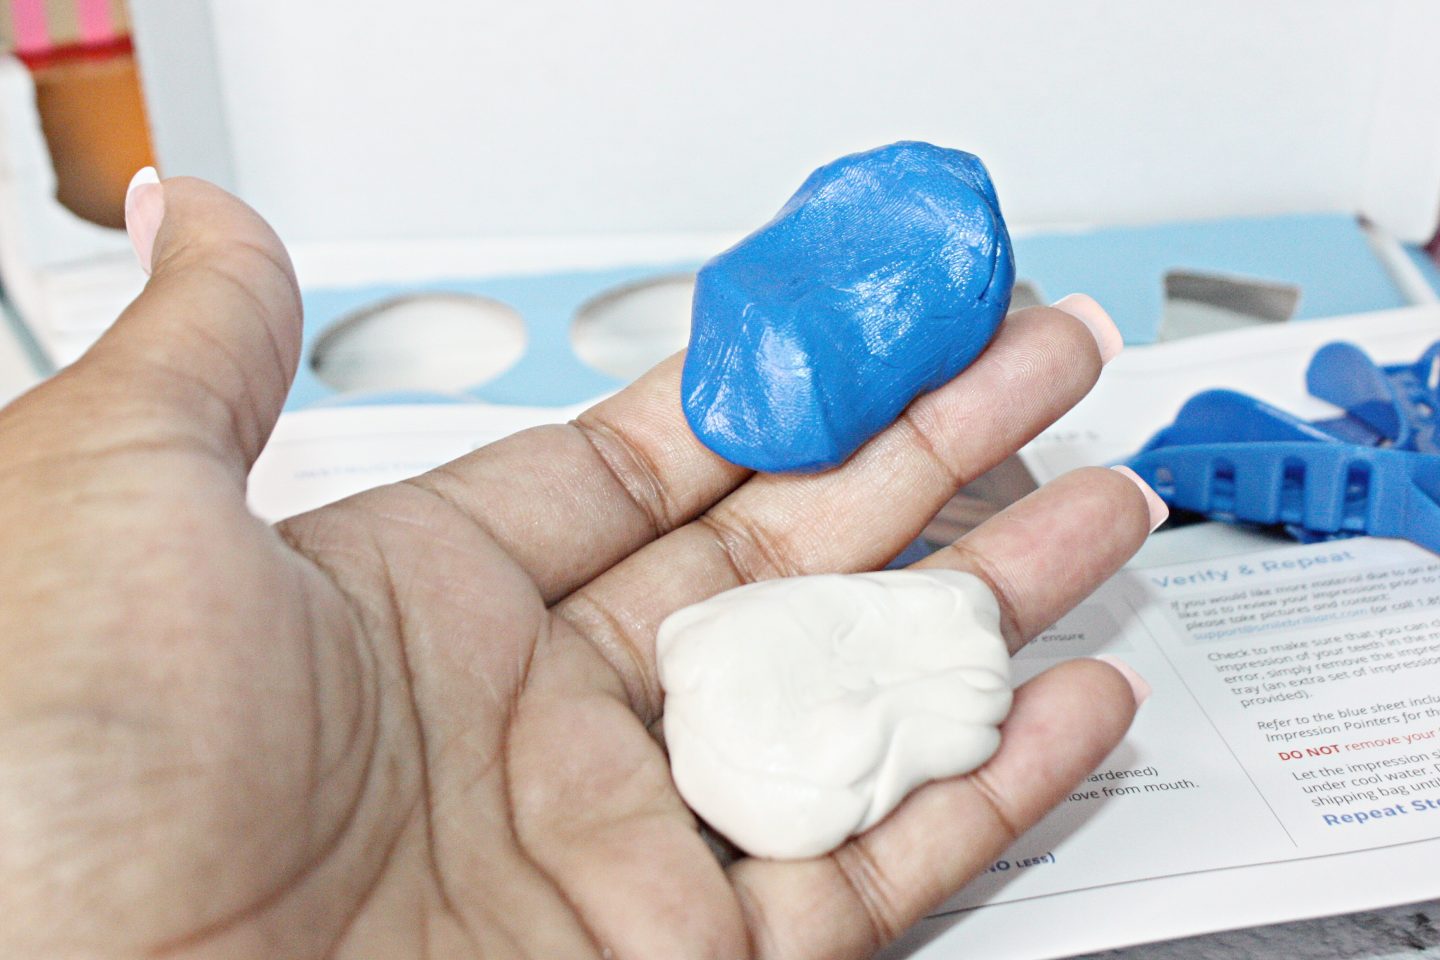
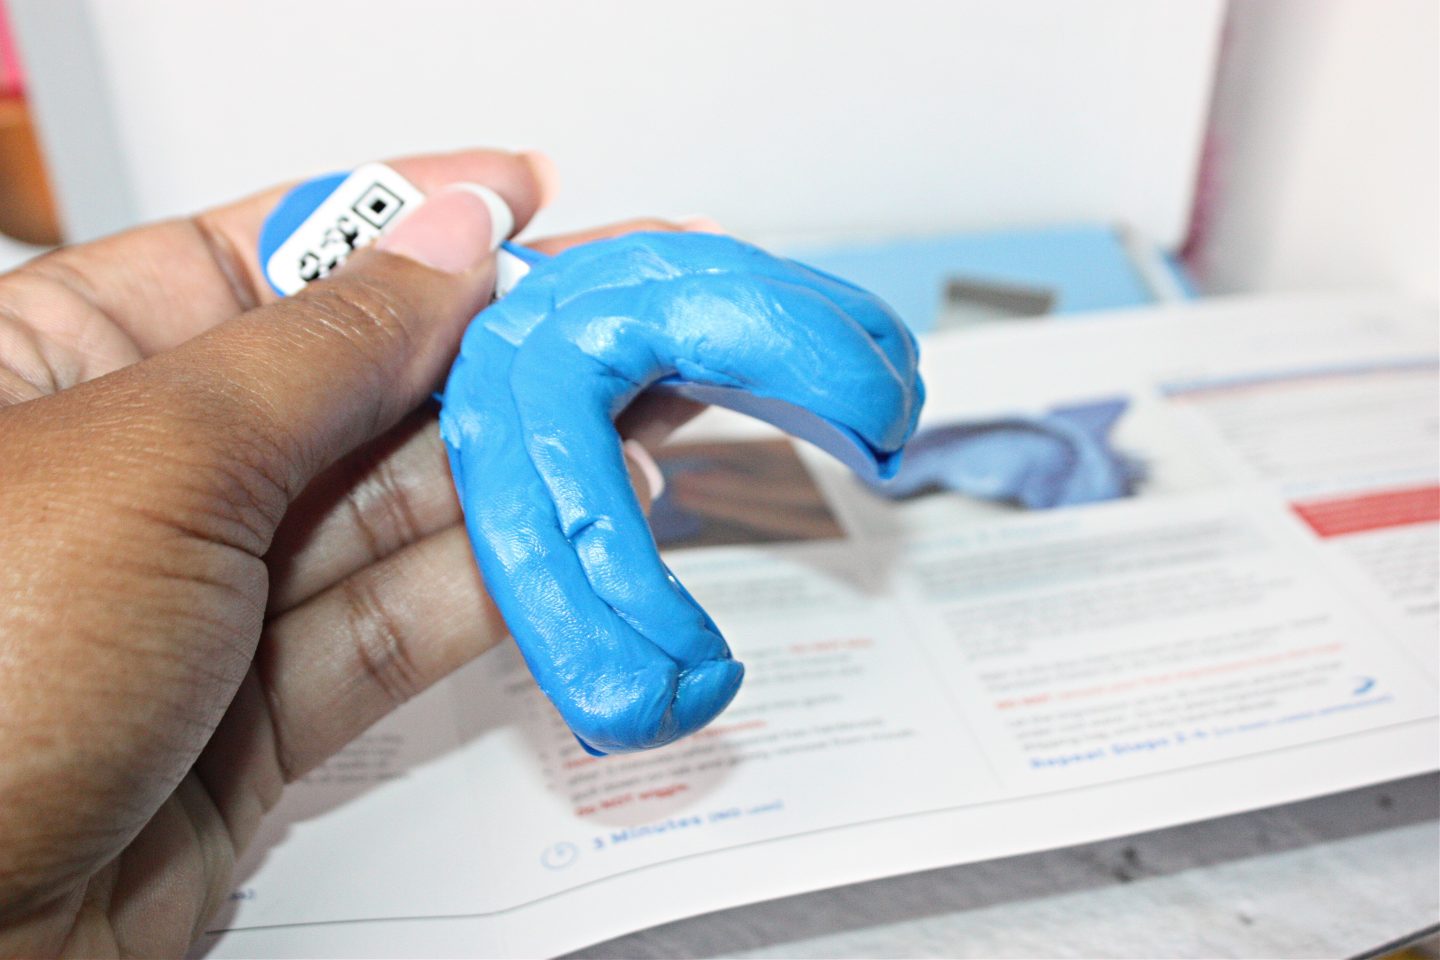
Once you have completed these steps and your impressions are made, allow them about 30 minutes to dry and then rinse them before putting them into the shipping bag.
Impressions Received!
Once your impressions have been received, you will be notified by email. If you do not have to redo them, you will receive another email stating that your impressions are on the way. Once you receive them, you are ready to begin whitening your teeth.
Final Thoughts
In this post, I hope that I have achieved my goal and was able to share a deeper look (than in 2018) into how to create your impressions.
Stay tuned. In the next post, I’ll be sharing my before photos, what comes in your package along with your impressions, and next steps.
